|
|
|
|
|
COLLECTION
|
FEEDBACK
|
|
TECHNICAL SPECIAL
An alternative to scanning
|
This is a subject which has been bothering me for
some considerable time, converting negatives to digital positives. The
conventional method, employed by most labs, is drum scanning and loading
onto CD. This is pretty much an automated process and as such should not
be expensive. The supermarket and high speed high street labs have offered
this service at time of processing for just a pound or two. Unfortunately
in recent times these labs have been making some radical changes, that is
the ones who are still in business, and are now charging much more. This
forced me to look again at an alternative scanning solution. Flatbed
scanners have moved forward a long way over the last few years but to get
one with good negative scanning potential still requires a substantial
investment, the cheapest on the market at present being the Epson V300 at
£90. Apparently this is a very capable scanner but only covers 35mm,
medium format capability requires a much higher investment, and flatbeds
still inherently suffer from problems with dust and I have also found the
the higher the resolution the greater the noise levels in the finished
product so what you gain on the swings you lose on the roundabouts.
This bring me to the main subject of this article, an alternative to the flatbed scanner. Around 9 months ago the company I work for were throwing out an old Kaiser copy stand, complete with lights. Being an inveterate scrounger I acquired this item, with permission of course, and found it a new home. I originally thought it would be useful for photographing smaller items for the site and some stock which my son was selling on ebay. When I thought about it I figured if I were to use a light bed on the table I could place negatives on it and photograph these using a macro lens or extension tubes on my digital SLR. Yes I know I swore but it's the only way this is possible, and after all I think it's a safe bet that although we're all film fans we still have a digital camera hidden away. The first results were encouraging but suffered from uneven lighting so I shelved the idea. After going back to struggling with flatbed scanners for a while I thought it was time to revisit the stand. What it needed was a film holder mounted on a stand to lift it away from the light and allow more diffusion. This got rid of the bad lighting issue but by reducing the light level made the images a little dark. By chance I happened to find a sheet of foil card amongst my odds and ends of print samples and I used this to fabricate a box with the holder on top but with the foil side facing inward. The difference was amazing, not only did this diffuse the light but intensified it considerably. The only issue now was the colour balance and after adjusting the camera's white balance a few times I got improvements. Then in an inspired moment I thought of using a Cokin mid blue filter slide laid on the light bed enough to cover the area of the negative but still allow white light around it to fill the box. The theory being that the blue filter would help to neutralize the red film backing. The results now are astounding and need only a little adjustment in software to get superb results. As an anecdote there is a twist in the story, just as I have finally made this amazing discovery I popped in to the high street newsagents and picked up a copy of the British Journal of Photography only to find they are running an article on using old Kaiser copy stands with a light bed and digital camera as an alternative to flatbed. It would appear that these copy stands are now being sought after by professional labs because the image quality when using a high end digital camera is superior to all flatbeds and better than all but the best drum scanners. Well I got there first, even if I don't have a high end digital it still works well for me. Two things to bear in mind while you're scrutinizing the images below. One is that I only have 6 megapixels so the camera is far from high end, above 10mp would give a much better resolution and allow larger sizing. The other thing is that the 110 cassette negatives used for the images at the bottom are over 20 years old and are not in perfect condition. |
|
|
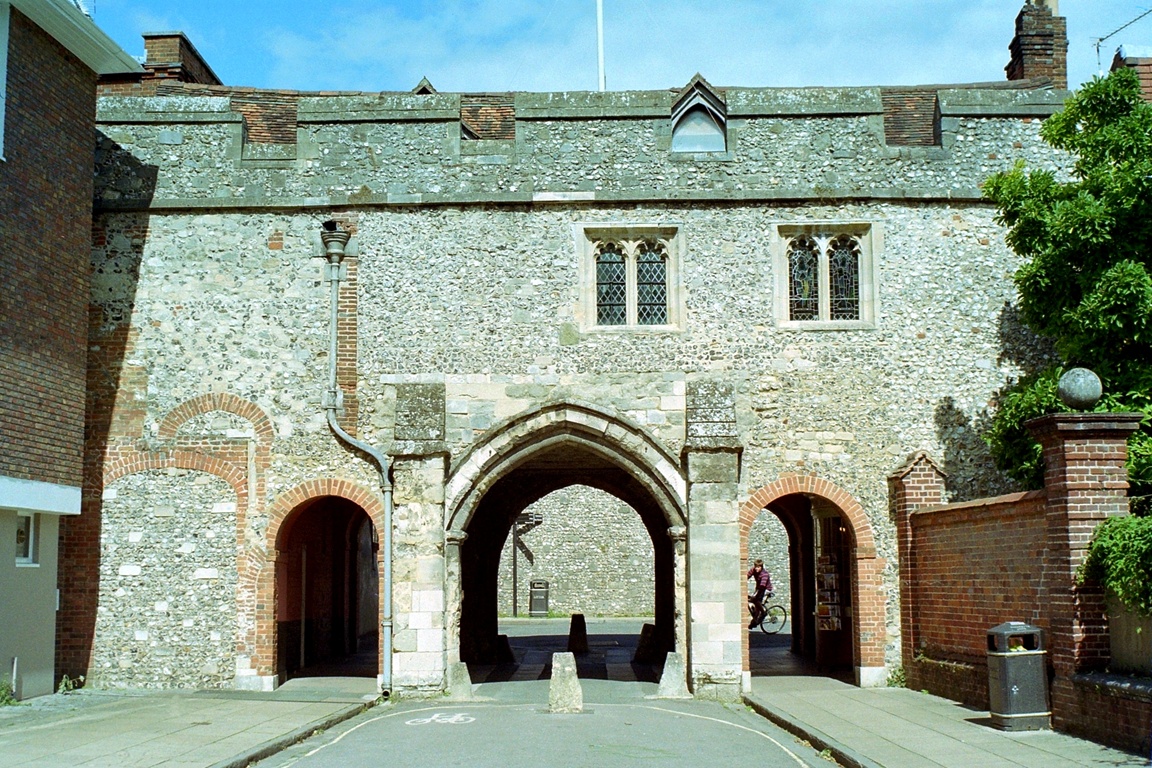
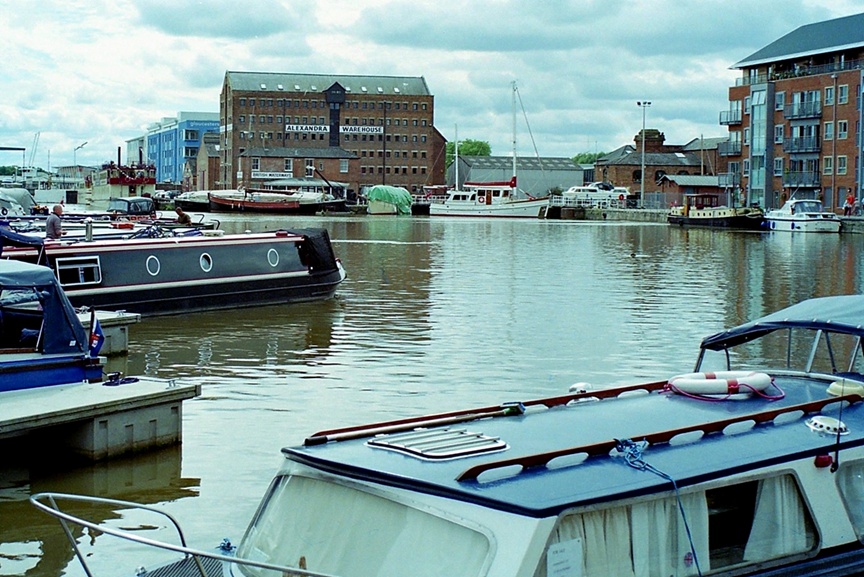
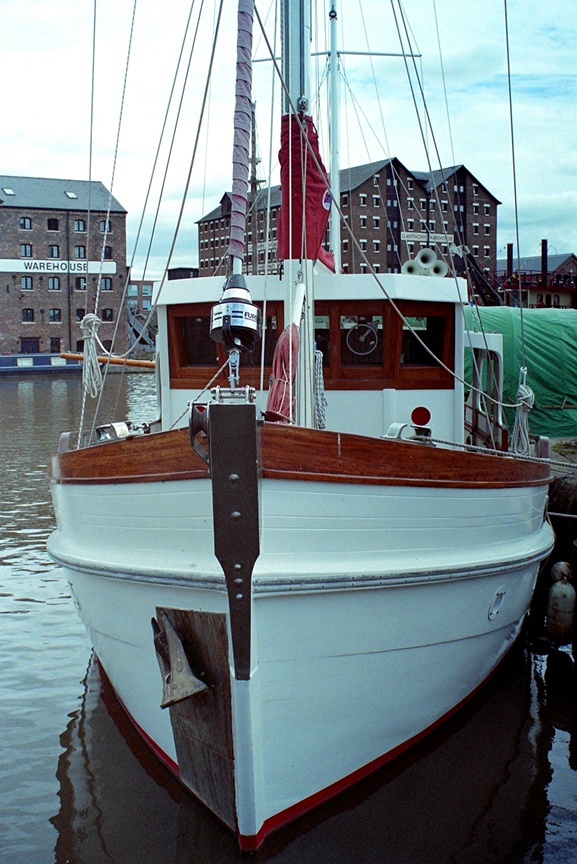
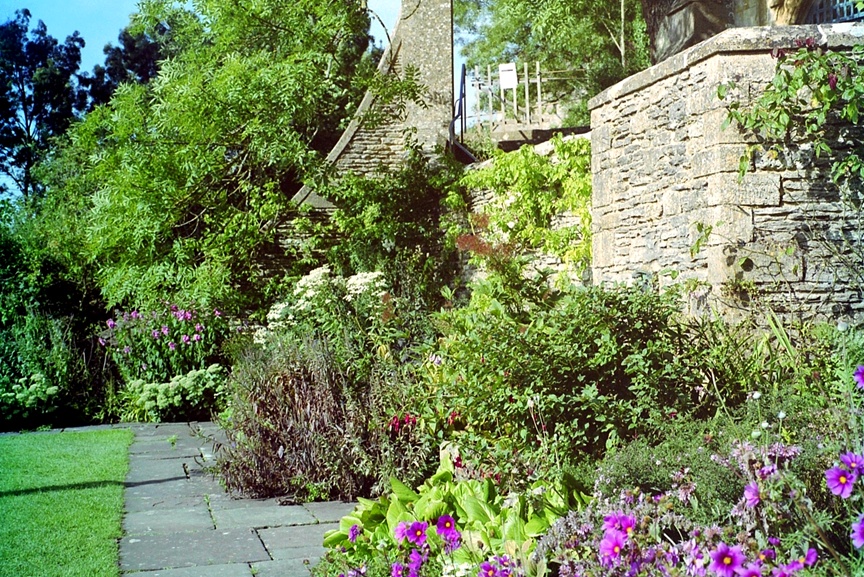
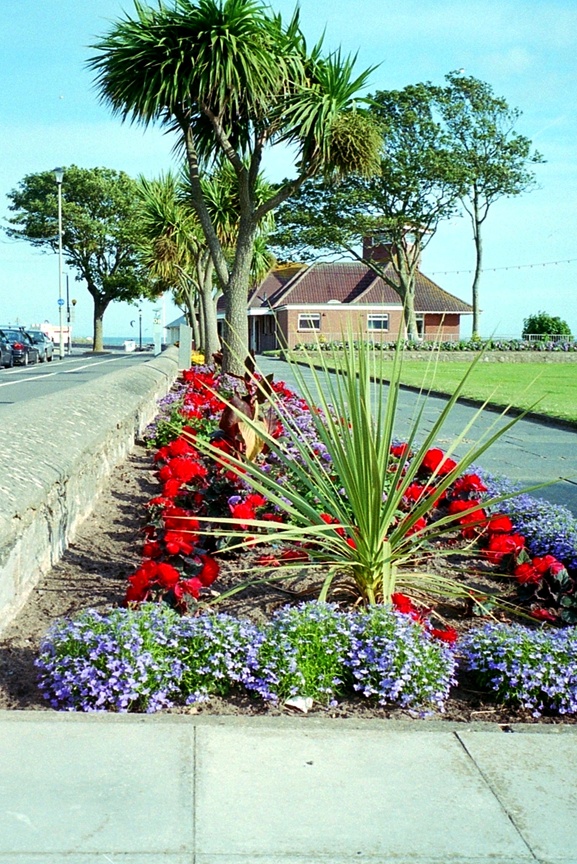
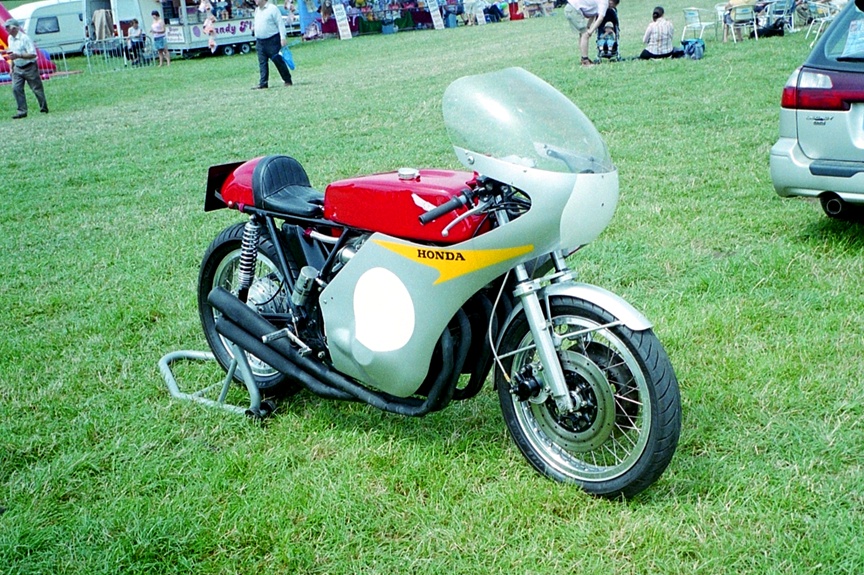
On the right are some examples of different film
types produced on the new "rig".
One thing which I didn't mention above is how to set up the system to get the best results so I'll tackle that here. The first thing is to make sure you have a top class lens because the definition required is incredibly fine as I'm sure you can imagine. You will need to experiment with aperture setting to obtain full corner to corner sharpness. As any regular macro user knows there is very little depth of field or focus working at such close quarters. I use between f8 and f16, the wider end tends to lose a little sharpness at the edge, however the f16 end increases white noise in in the sky and other mid tone areas. I also use manual focus to get the critical sharpness needed. It is best to keep the shot as tight to the actual content as possible because any framing or white space around the negative will affect the light and colour balance. This will involve experimentation with extension tubes or magnifying filters, the latter are not recommended because they will affect the end result to some extent. The same applies to coloured filters which is why I use the filter on the lightbed. The great thing is that once you have the set up right it is constant, so you can scan a whole roll of 36 negatives in a matter of minutes, much faster than a flatbed which adjusts for each individual frame. As an aside to this article this setting up really shows the differences is lens quality because the tolerances are so tight, you will soon see the difference. The best lens I have which I can use on my Pentax is the classic Russsian Helios 44 (ex Zenit) on an adaptor, this is streets ahead of most including the Super Takumar. I have, so far, produced masking frames for 6 x 6, 6 x 4.5, 35mm, 35mm Half Frame and 110. I still have to make 126 and 6 x 9 but as I have only a few negatives to experiment with this is a low priority. A word of note, the medium format holder needs to be closer to the lightbed in order for the filter to cover the surface area of the negative. This is what is holding up the 6 x 9 because the Cokin A filter is too small and I need to find a Cokin P at a reasonable cost.
|

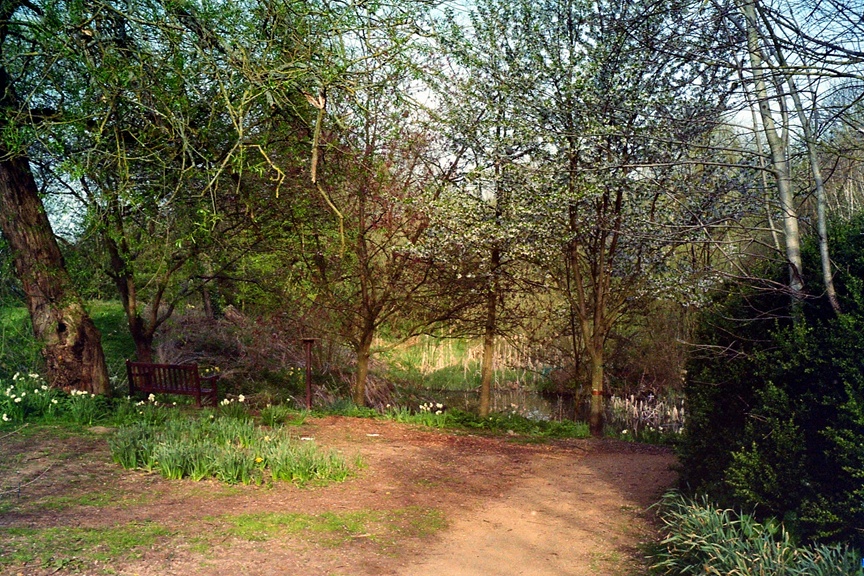 Rollei B35 (35mm)
Olympus Pen EE (35mm Half Frame)
Minolta 110 SLR Mk2 (110 Cassette) |
|
Website hosted
by obscura135
|


 ©35mil
Plus all rights reserved
©35mil
Plus all rights reserved